DIY Nail Care: Essential Tips for Perfect At-Home Manicures


Getting Started with DIY Nail Care
Creating a perfect at-home manicure is not only a great way to save money, but it's also a relaxing self-care ritual. With the right tools and techniques, you can achieve salon-quality results from the comfort of your own home. Let's dive into the essentials of DIY nail care to help you get started.
The first step in any manicure is to ensure your nails are clean and free of any old polish. Use an acetone-free nail polish remover to gently remove any leftover color. It's also important to wash your hands thoroughly with soap and water to remove any oils or dirt.

Essential Tools for a Professional Finish
Having the right tools is crucial for a successful at-home manicure. Here's a list of must-have items:
- Nail clippers: To trim nails to your desired length.
- Nail file: For shaping and smoothing the edges.
- Cuticle pusher: To gently push back cuticles for a clean look.
- Buffer: To smooth the nail surface and add shine.
- Base coat, color polish, and top coat: For a long-lasting finish.
Investing in high-quality tools will ensure better results and make the process more enjoyable. Remember to clean your tools after each use to maintain hygiene and prolong their lifespan.
Nail Preparation and Care
Before applying any polish, it's essential to prepare your nails properly. Start by soaking your hands in warm, soapy water for a few minutes. This softens the cuticles, making them easier to push back. Gently push back the cuticles using a cuticle pusher and trim any excess skin if necessary.

Next, shape your nails with a file. Always file in one direction to prevent splitting or breakage. Once you've achieved your desired shape, use a buffer to smooth out the nail surface. This step is crucial for ensuring that the polish adheres well and lasts longer.
Application Techniques for Flawless Polish
Applying polish may seem straightforward, but using the right technique can make all the difference. Begin with a base coat to protect your nails and create a smooth surface for the color polish. Allow it to dry completely before moving on to the next step.
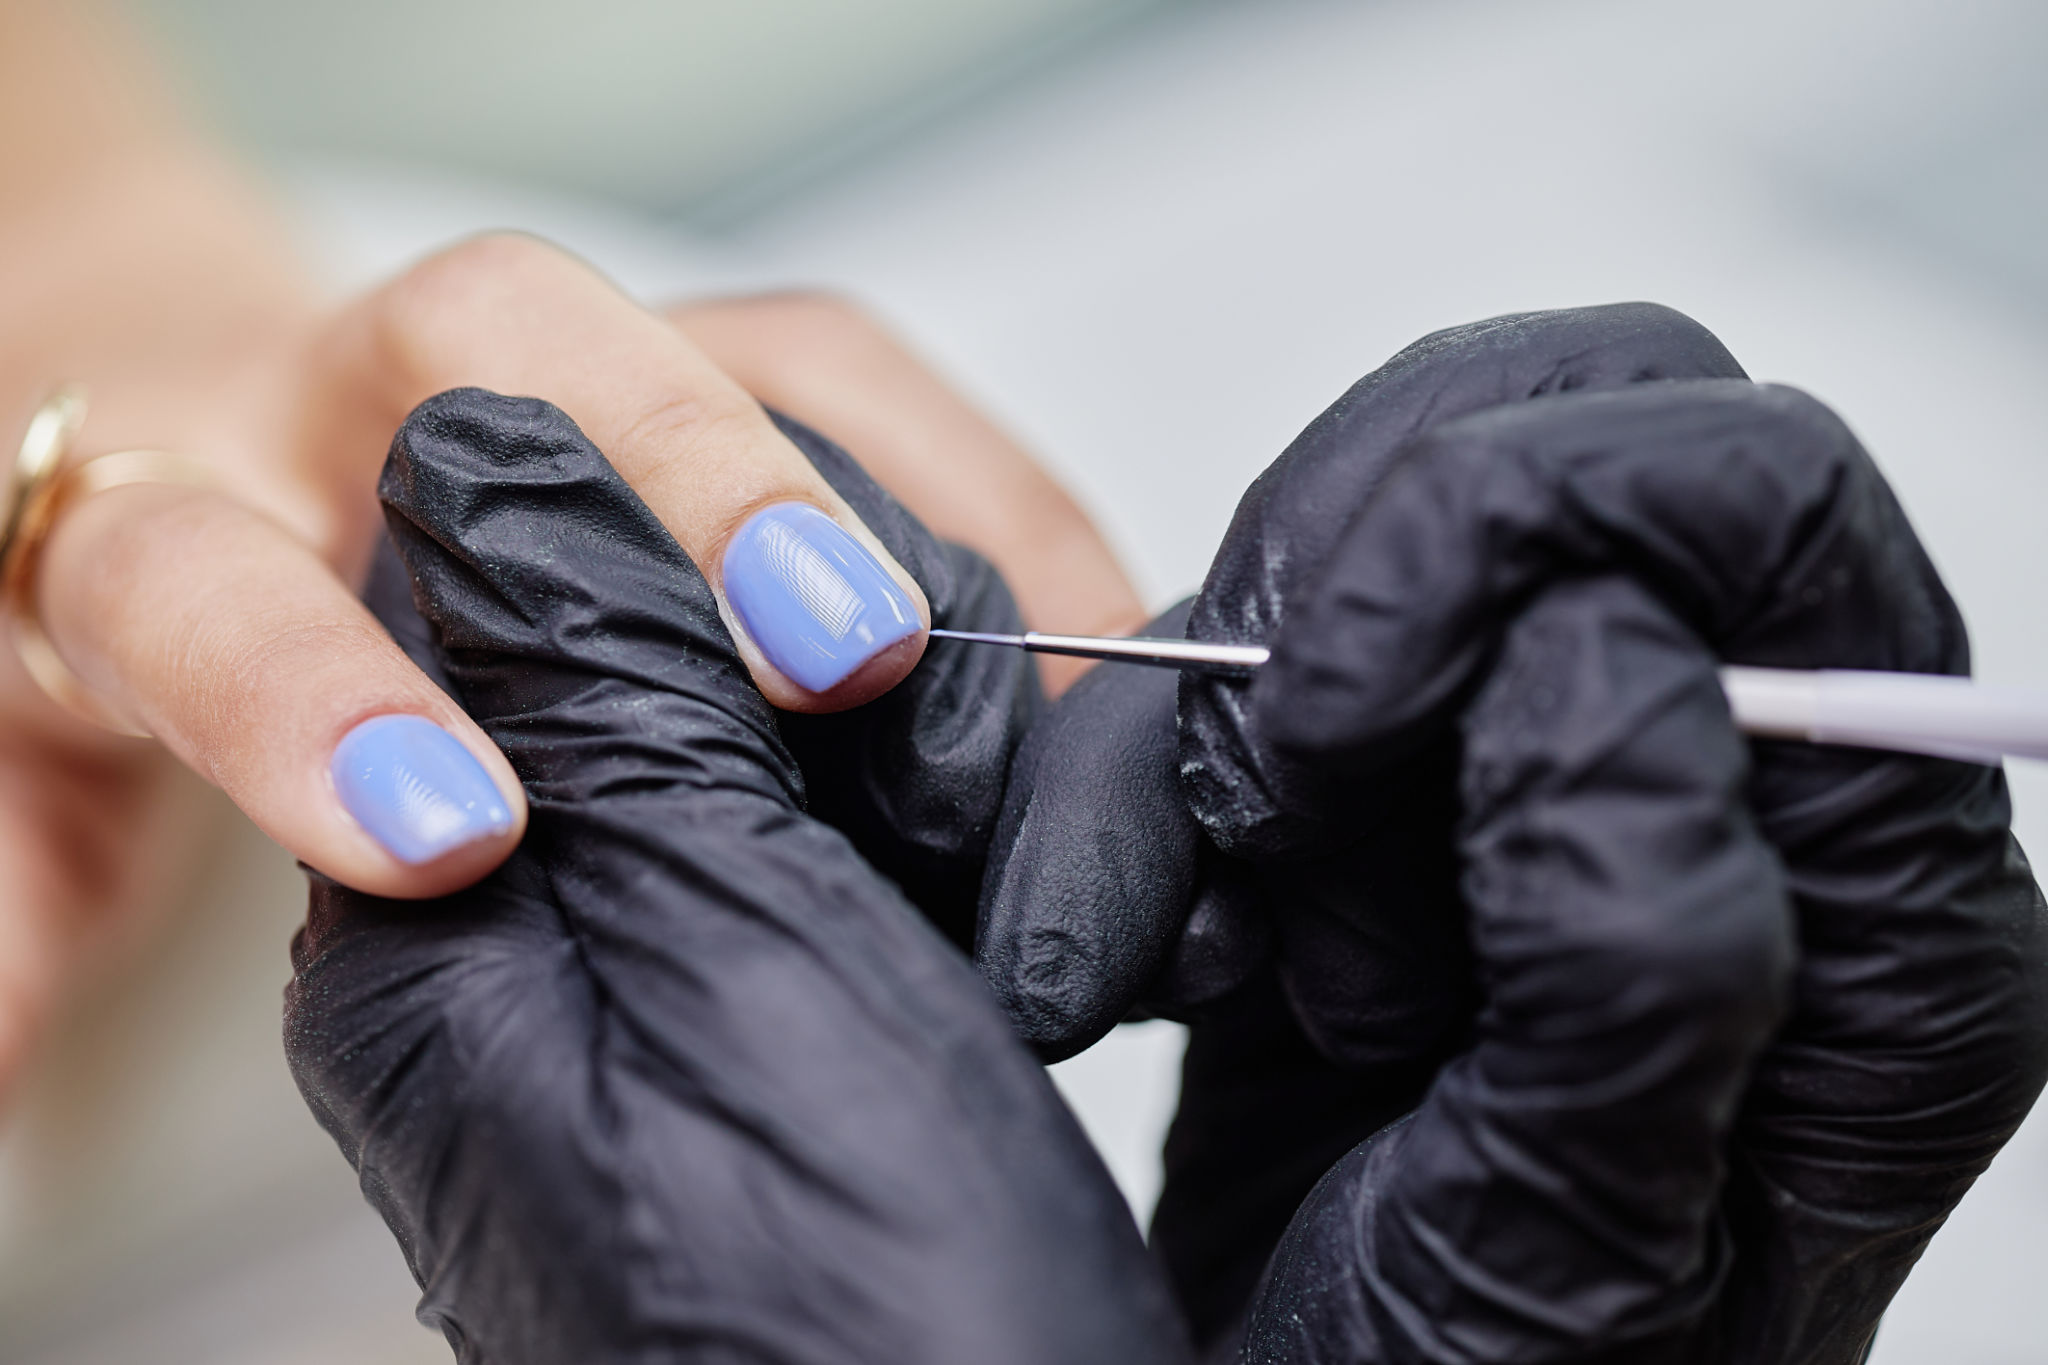
- Apply the color polish: Use thin layers, starting with a stroke down the center of the nail, followed by strokes on each side. This ensures even coverage.
- Allow each coat to dry: Patience is key! Let each layer dry completely before applying another.
- Finish with a top coat: This locks in the color and adds shine, ensuring your manicure lasts longer.
Troubleshooting Common Issues
If you encounter bubbles in your polish or streaks during application, don't worry. Bubbles often form when polish is applied too thickly or shaken instead of rolled before use. To fix this, make sure each layer is thin and allow appropriate drying time between coats.
For streaks, ensure that your nail surface is smooth and clean before applying polish. Consider investing in a higher-quality nail polish if streaking persists, as some formulas are more prone to this issue.
Nail Care Maintenance Tips
To keep your manicure looking fresh, it's important to maintain nail health between applications. Moisturize your hands and cuticles daily using a nourishing hand cream or cuticle oil. This helps prevent dryness and keeps nails strong.

Avoid using your nails as tools for opening cans or removing stickers, as this can lead to chipping and breakage. If possible, wear gloves when doing chores that involve harsh chemicals or prolonged exposure to water.
By following these tips and tricks, you can achieve beautiful at-home manicures that rival salon-quality results. Happy pampering!